https://www.youtube.com/watch?v=NN6h7bTRMzw
How To Create A Free Website With Google Sites [2023]

Google sites is a free website builder offered by Google that allows anyone with an internet connection to build and launch a stunning website in just a few clicks , simply build your website from scratch or choose from premade website templates .
Now , this website builder is ideal for non tiki with zero coding and design experience .
Hey guys , Stuart here .
Welcome back to this channel .
I hope you're all having a fantastic day .
Now , today , I'm going to help you navigate the website builder , Google sites so that you can quickly and easily create your own free website all within 10 minutes .
Ok ?
So before we launch into Google sites , consider subscribing if you haven't done so already or if you're new to this channel .
And that way you'll stay updated with actionable videos and tutorials designed to equip you with the skills knowledge and tools to help your small business thrive online .
And with that out of the way , let's go ahead and create your free website with Google sites .
Ok ?
So before we get started , you do need a free Google account in order to access Google sites .
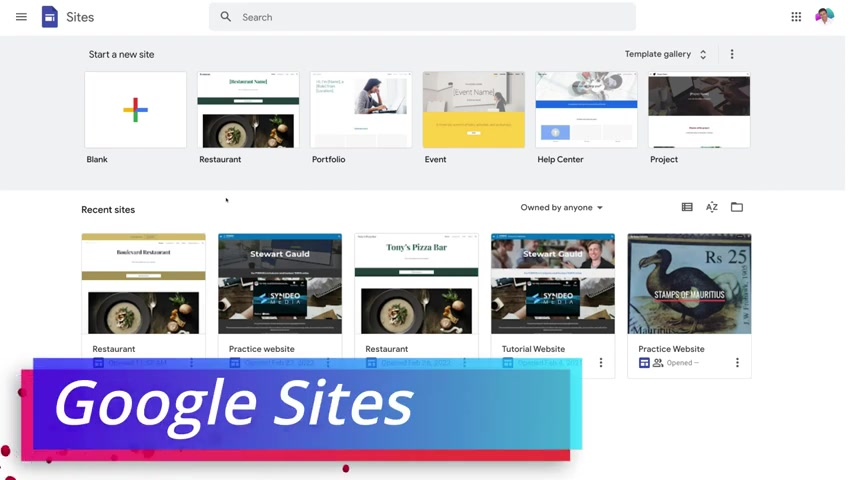
Now to simply locate the website builder , Google sites just simply head over to your browser and type in sites dot google dot com .
And that's going to take you here .
Or alternatively , you can head over to your Google Drive and inside your Google Drive , simply navigate up to new over in the top left hand corner and then come down to more and simply locate Google sites .
Now , if you directly arrive here , what we wanna do is navigate up to the top left hand corner and then click on sites home and that's going to take us to our site's home , then simply navigate over to template gallery and this will generate dozens of website templates that you can choose from and then customize the way that you like .
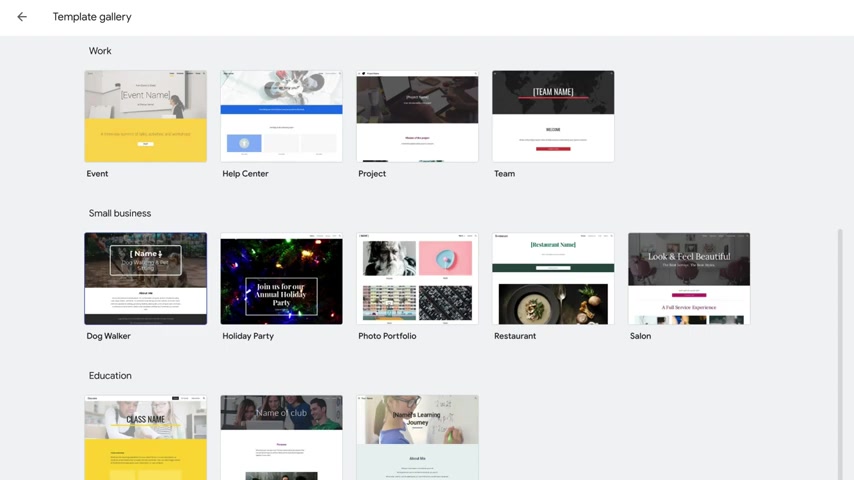
Now , if you're completely new to Google sites , we recommend that you select a premade website template to build from this will give you an idea of how a website should look .
However , you can also navigate up to the top and build a Google site a website from scratch .
However , for the purpose of today's beginner's tutorial , what we're going to do is select a premade website template and then create our own stunning website from that template .
Now , don't worry too much about the template that we selected if your business is completely different and operates in different industries .
What we're going to do is simply navigate through all the features and tools that you can use within this free website builder so that you can create your own unique website .
OK .
So first things first , what we want to do is navigate up to settings in the top right hand corner , then simply navigate down to brand images .
And the first thing we want to do is upload our business logo .
So we're going to go ahead and click upload and then select our restaurant logo that we created earlier .
Now , if you currently don't have a logo for your brand , what we'll do is link a beginner's tutorial down below in the description that will take you through a complete tutorial on how you can create your own logo for free .
Using the free design tool called can I actually used can to create all the media for this tutorial then simply come down to alt text .
And what we want to do is add our website name , our business name , then scroll down and here we have the option to use the logo color for your theme .
If I click here and you'll notice that the color of your website theme will change to your logo color .
This helps create consistency in your branding .
Then what we want to do is come down to facon and upload a facon and this is the icon that your visitors will see in their browser when they open up your website .
Again , this helps with the overall branding of your website and you can use can to quickly create a facon for free .
So I'm going to go ahead and upload this icon .
And then we want to navigate down to announcement banner and this is where you have the option to add an announcement banner .
All you need to do is simply click show banner and then fill out the information .
For example , add a message , the button label and then a link .
And you can choose to add this only on the home page or on every page on your website for the purpose of this tutorial .
We want to keep our website clean .
So we're not actually going to enable this feature .
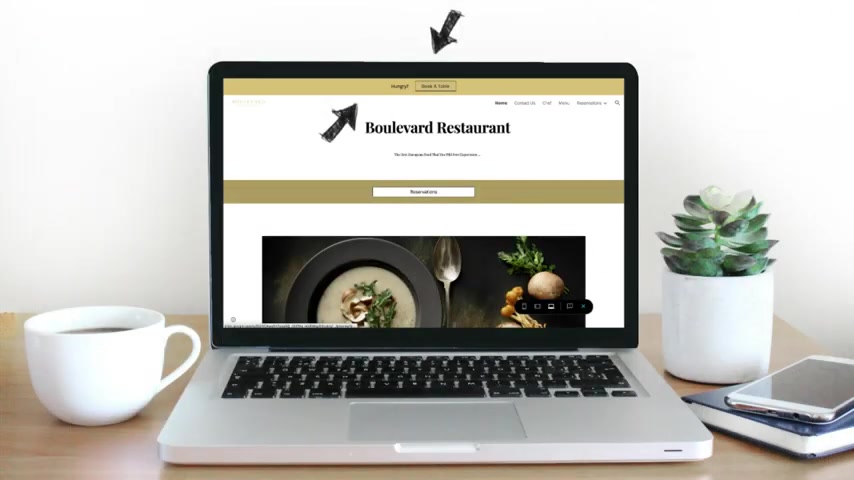
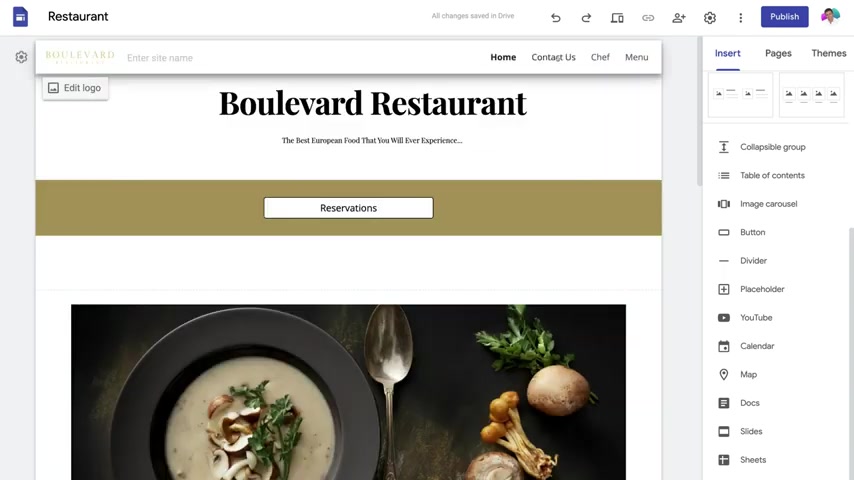
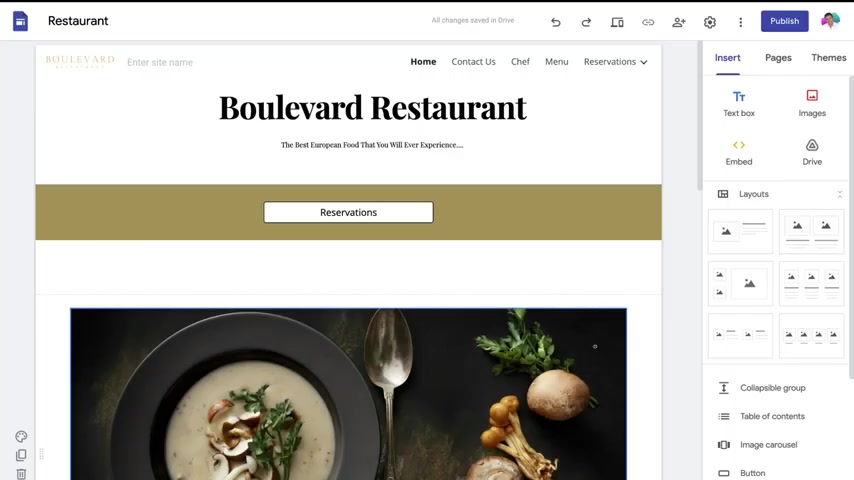
And what we can do now is exit out of settings , then simply navigate up to the name of your website .
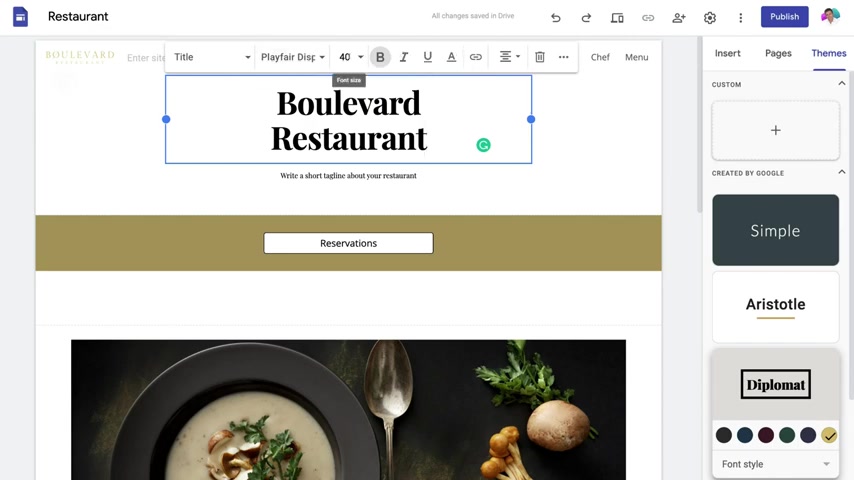
We're gonna go ahead and remove this name because we've added a logo over here , then come down to this cover text here and simply click here and then highlight the default text here and simply add your business name .
And you'll also notice that when you click on a text element on your website pages that we have these formatting options up here for our text .
So for example , if we wanted to change the style , the font , the size , we can go ahead and do that .
Now , however , for this title text , we're going to leave the default formatting options as they are .
We can also expand this out if we like so that our title is on a single line , then we can come down and we can add a tag line if we like simply click on the element and then change the text to anything that you like .
And again up here , you'll notice these formatting options .
Now , what I'm going to do is click out of that and once you've made any changes , all those changes will be saved in drive .
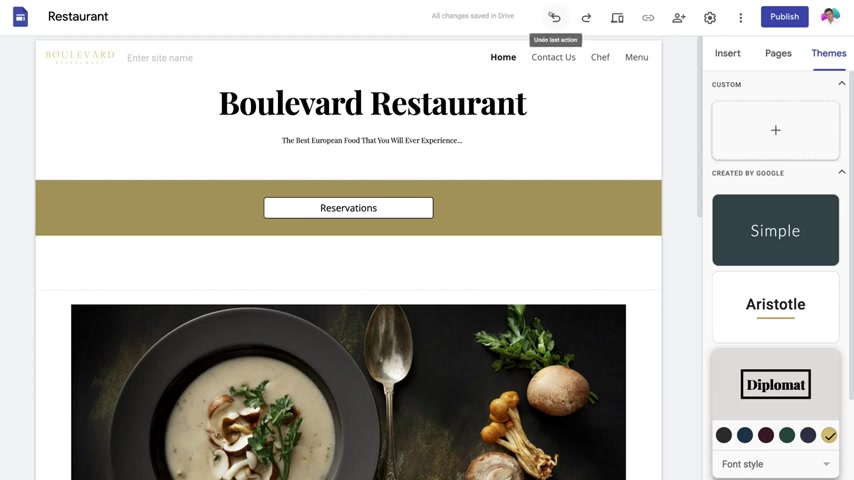
Now , you can also undo the last action that you took and you can also redo the last action .
Now , once you've made any changes , you can also preview what your website will look like across different devices .
However , at the moment , what we're going to do is continue customizing our home page of our website .
Now , each of your website pages are broken down into sections .
You can see that we have a section over here .
If we scroll down , we have this section here and then we have another section here here and down here .
Now , with each of these sections , for example , if we navigate up to this section and we can simply go ahead and change the style of that section .
So for example , if I click style one , that's going to change the style to style one .
If I click section colors again and then come down to style two , you can again see those changes .
I'm going to navigate back to section colors and then come down to style three and I'm happy with style three .
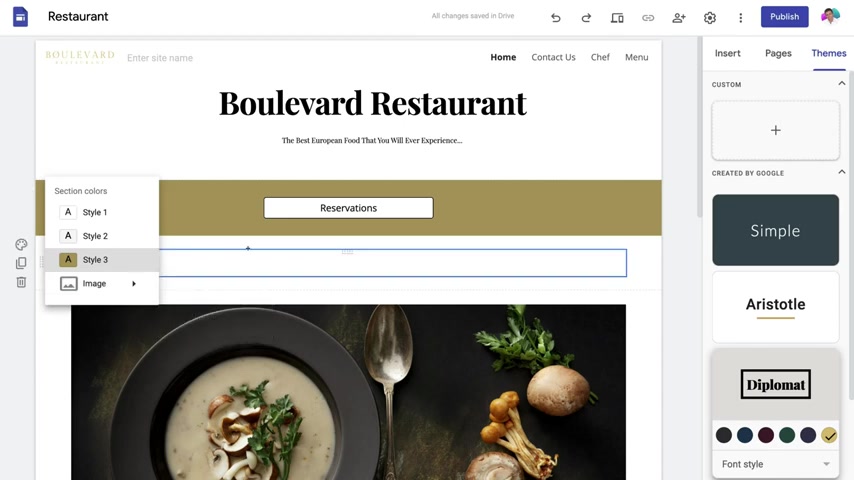
However , we can also navigate back to section colors and we can actually come down .
And if we like , we can upload an image for the background of this section and every section gives you these options .
So again , if I come down here and click on section colors , you can see that we have these different styles that we can choose from .
Now under each section , you can also duplicate a section and that saves you time actually building a new section if you want to add that section to another part of your website page , and then we can also come down and delete each section .
OK ?
So if we scroll down , you can see we have a image over here .
Now if we navigate over to the far right hand side and click on insert , this is where you can add layouts that you can then customize the way that you like or you can add text box images or you can embed videos .
Now , for example , if I wanted to add an extra text box , all I would do is click text box and that's going to add a text box over here .
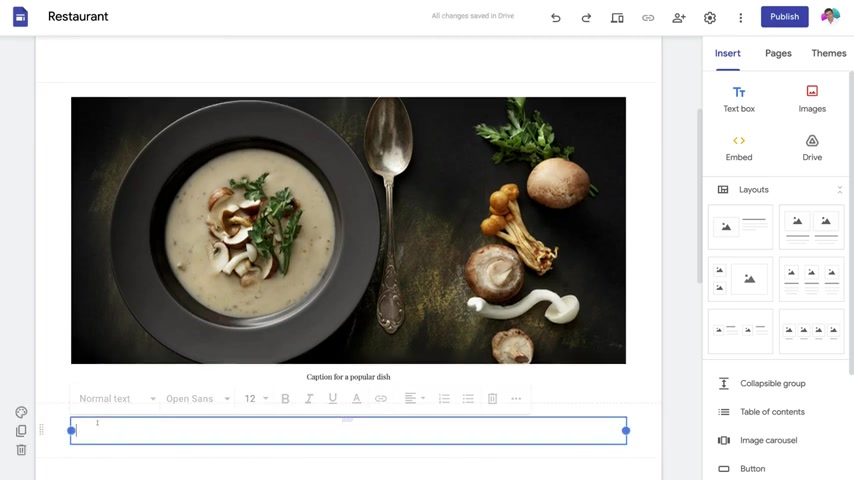
I can simply add the content that I want inside this text box .
Now , if we navigate over to the left hand side , I can also click and drag this text box to any position of my web page .
And then again , I can add any content I want in here .
But what I'm going to do is actually delete this section .
Now , we can also navigate over to layouts and we can add layouts .
So for example , if I like the look of this layout , all I would do is click the layout and that's going to add that layout in here .
Again , if I'm not happy with the position of this section , all I would do is simply drag and then drop this section where I like .
And as you can see see with this section , I can add three images over here .
I can also add a title text here for each of these images and then a blurb down here .
And to add an image , all you would do is click here and then upload an image again to add text .
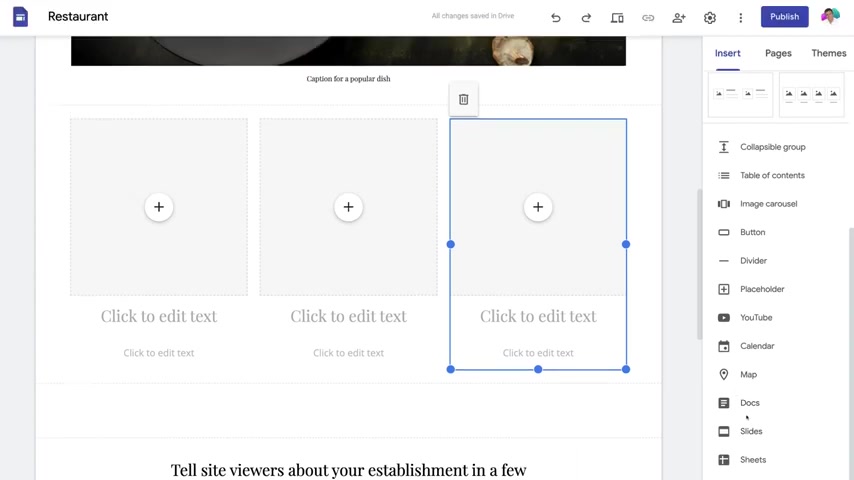
You would simply click on the text box and then start typing the text and then again under insert , we can scroll past layouts and we have these other options that we can add , we can add , add a button table of contents .
We can insert a youtube video .
If we want a calendar , we can also add a map , documents forms and more .
So the great thing about Google sites is the integration with other Google products that you can simply embed into your website .
This allows you to add extensive features to your website .
Now , what we want to do is navigate down to the bottom of our page and then click on edit footer .
And then what we want to do is go ahead and add our business address , business phone number and business email .
And this section will appear on every page on our website , not just our home page .
And as you can see , I've added my business information inside my footer .
I'm gonna go ahead and change the font and then fold this information and I'm happy with that .
Now , what I want to do is navigate back up to the top and take the time to customize each of these pages .
So as you can see in our primary menu , we have a home page , contact us , chef and menu .
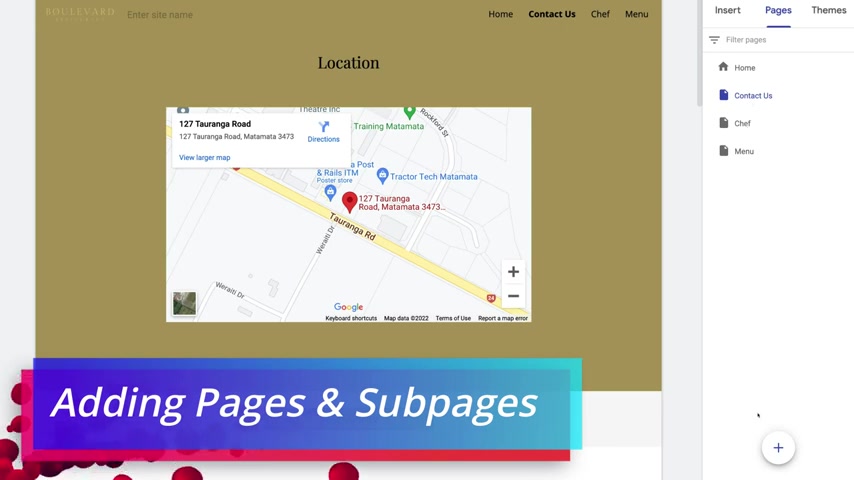
If I click on contact us , that's going to take us to the contact us page .
And down here , you can see that we have a map element down here that we can customize .
Simply click on the map element and type in the address of your business , then come down and click select .
And as you can see using Google Maps , we've embedded our business address and now our visitors can find directions to our business .
Now , the contact information and business address that I've added in today's tutorial is not real .
And I'm just using this for today's example .
Now , if the template that you selected did not have a map , then you can also go ahead and click map and then add your address and that's going to insert a map onto your website page .
So what I'm going to do is exit out of this .
Now , if we navigate over to pages .
This is where you can find all your website pages .
We can also navigate down to the bottom .
And here we have the option to create a new page .
We can insert a link into our primary menu and we can also add a new menu section .
So for example , if we wanted to create a new page , all we would do is click new page and I could add a page and then come down and click done .
And as you can see that's going to add this page into our primary menu .
And we now have a blank page that we can customize the way that we like .
Now , for example , if we wanted this page on our menu to be at the end of our menu , all we would do is simply click and drag that page to the bottom of our pages and that's gonna add that page over here .
OK ?
So now what I want to do is show you how to create sub pages .
So pages that drop down from the main menu to do that .
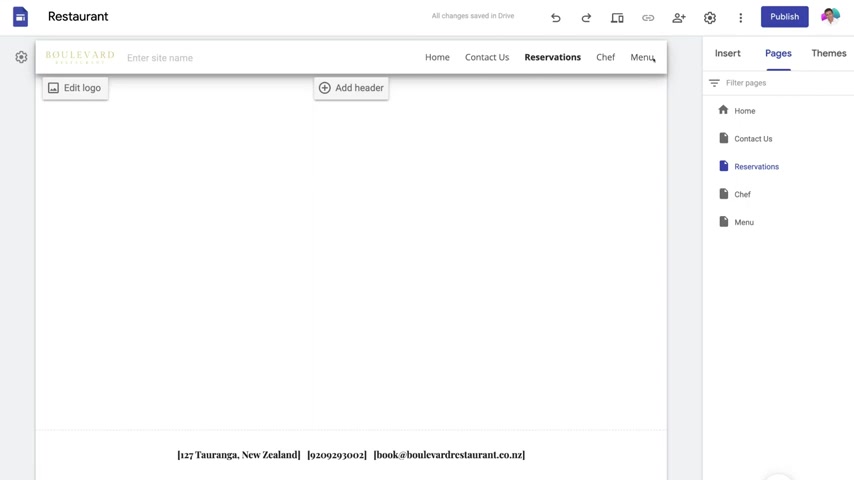
I'm just going to quickly go ahead and delete this page and then I'm going to navigate down here and click new menu section again .
I'm going to add reservations and click done .
Then next two reservations .
I want to navigate over to the three dots and come down and click add sub page over here .
I'm going to add dine in bookings and then hit done .
I'm also going to navigate over to reservations again and come down and add another sub page .
This time , I'm going to add takeaway orders and then click done .
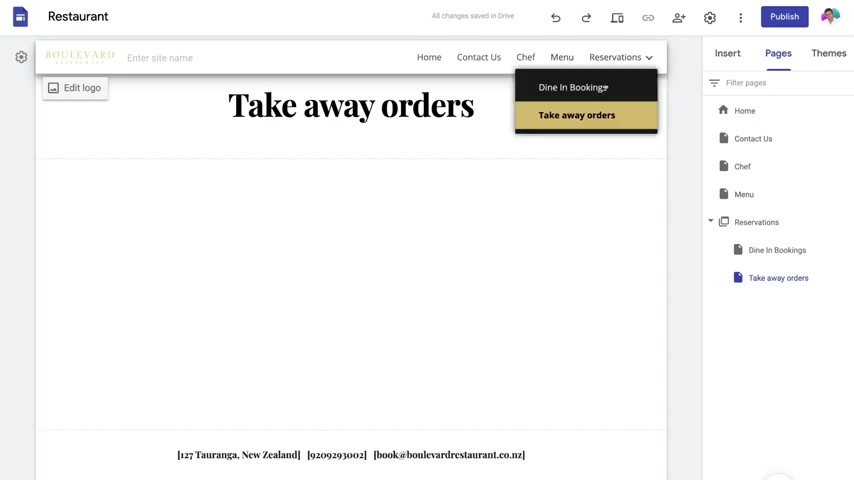
And as you can see if I navigate up to our primary menu under reservations , I have two pages , dine in bookings and takeaway orders .
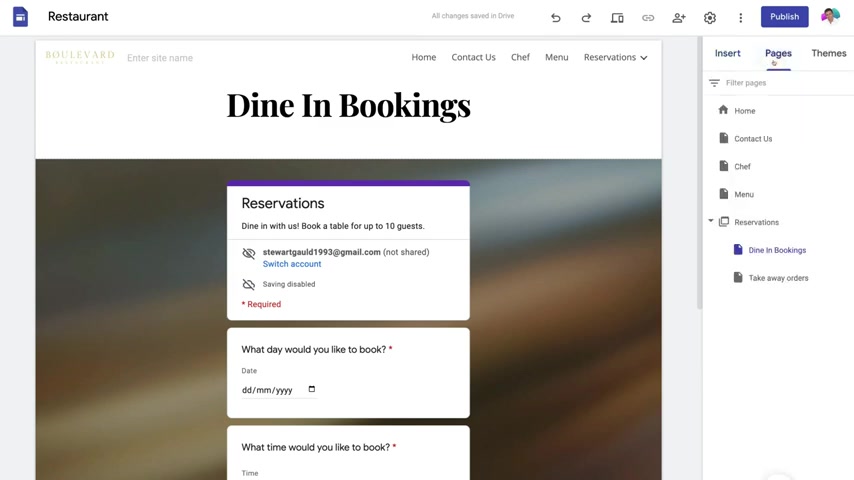
And for example , I can navigate over to dine in bookings and that's going to take us to dine in bookings page .
And again , you can customize this the way that you like .
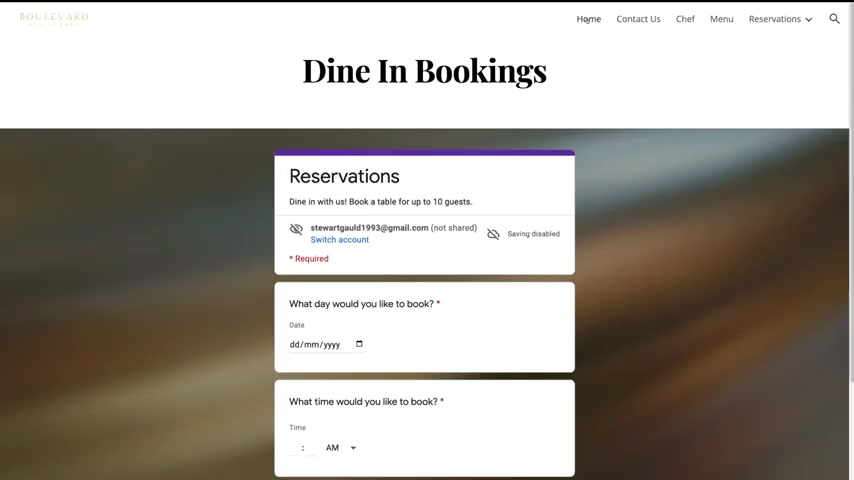
Now , what I want to do is allow people to book online .
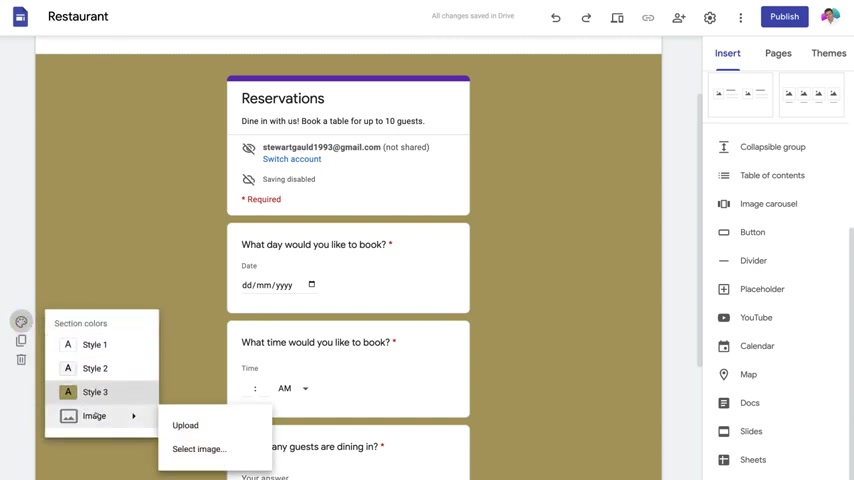
So to do that , I'm going to click insert and then navigate down the page and click on forms .
And this is a reservation Google form that I created earlier .
I'm going to select this form and then come down and click insert and I want to drag this section into the middle of my page .
And as you can see , I now have a reservation form that I've created with Google forms .
Now , if you're not too familiar with Google forms , and you want to learn more how to create your own forms that you can then embed onto your website .
What I'll do is link a beginner's tutorial up above that will guide you through leveraging and making the most of Google forms .
And as you can see the visitors that arrive on this website page can simply book reservations with us .
They can simply add the date time , how many guests are dining in as well as adding their phone number and then they can submit this and that will be a booking online .
Now again , you can make this page more attractive by navigating over two section colors and we can come down and change the style to three .
And if we don't like the look of that , we can navigate back to section colors , we can choose a different style or we can choose to upload an image or select an image .
So for the purpose of this tutorial , I'm just going to go ahead and add a gallery image and then simply click select and as you can see that's going to add a image in the background .
However , you can upload your own image .

Ideally , what I would do is upload an image of food , European food because this is a European restaurant .
OK ?
So what you want to do is take the time to go through each of the pages on your website and then customize those website pages , the way that you like , then once you've completed your pages , you can simply navigate over two themes and you can customize the theme of your website .
You can change the colors of the specific theme as well as change the font style .
However , I'm happy with that theme .
So again , what you want to do is take the time to customize your website if you've built a website from scratch or if you've selected a premade template , go through each of your website pages and simply click on insert to in certain different elements .
For example , text box images , we've got these other elements down here .
You can also add these layouts , then you can also add additional pages if you like to your website as well as sub pages like I've showed you and then we have themes over here .
Now before you go ahead and publish your website , so it's visible online and your customers can then find you online .
What we want to do is navigate over to preview .
And like I mentioned at the beginning of this tutorial , this allows you to view what your website will look like across different devices .
So on desktop or a larger screen on a laptop , this is how our website will look if I click on tablet , this is how our website will look like on tablet and then on mobile device , you can see the menu ends up being on the far left hand side .
And then if I click here , you can see that we have our menu items down here .
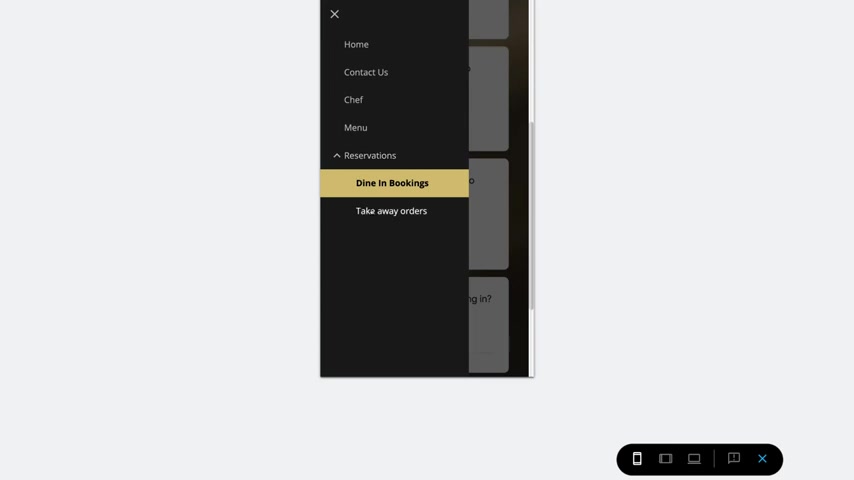
So once you've made any changes to your website , I suggest that you preview your website page to see if it's responsive and that it looks good across all your different devices , then come down and click .
Now , if we navigate up to share with others , we can add other people that we want to collaborate .
With on our website .
So for example , if you have someone else in your business that's responsible for customizing your website , or maybe they're responsible for adding menu items , then you can simply go ahead and add those individuals here .
Then when you're ready to launch your website online , simply navigate over to publish , then come down and add your business name down here .
And this is for your website address .
Now , if your name has already been taken , what you want to do is create variations of your business name .
So for example , I've got our business name , our restaurant name as well as the keyword restaurant and then the location where our restaurant is .
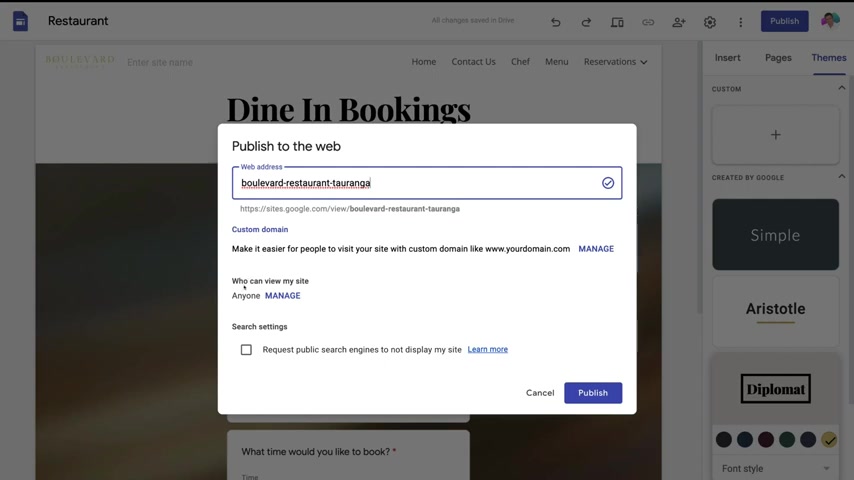
And this is going to help people discover and find our website on online and then come down to who can view my site , make sure that anyone is selected because we want to publish our website online for everyone to discover and find us so that they can essentially find our restaurant , they can book online , they can get takeaways through our website .
Then we want to make sure that this is turned on to anyone .
And then we want to make sure that this is not selected .
Because if we decided to select this , then we're going to ask Google to essentially not display our website and search engines , which means people cannot find us online .
So make sure this is not selected and then come down .
And when you're ready to publish your website and launch your website online .
Simply click publish and congratulations .
Just like that .
Your website is now live online now to view your website , simply navigate up to this drop down , come down and select view published site .
And that's gonna take you to your website .
Ok .
So what we're gonna do is head back to our editing dashboard .
And if you decide to further customize your website , so you've made any changes on your website , then those changes will not show on your live website until you navigate up to publish again .
And that's gonna show you your current website over here , what your current website looks like .
And then your drafted website .
If you've made any changes .
Now , as you can see down here , the only change I made was adding an extra full stop just for the purpose of this tutorial to show you what this interface looked like between your currently published website and then your draft , then to simply publish your changes , just simply navigate up to publish .
So what I'm going to do is navigate back .
And the last thing that I want to show you is how to unpublished , your website to do that , simply navigate up to publish and the drop down and then come down and click unpublished .
And as you can see your site is now unpublished , however , you can always publish your website whenever you like .
And that is it guys for everything we wanted to cover in this beginner's tutorial helping you get started and navigate Google sites .
And there we have it guys that is it for this Google sites tutorial for beginners .
Now , if you have any questions about this tutorial , make sure to pop them down below .
And with that said , thank you so much for watching this tutorial all the way through to the end if you got value , make sure you leave a like and subscribe to this channel .
And that way I'll see you in the next video .
Take care guys .
Are you looking for a way to reach a wider audience and get more views on your videos?
Our innovative video to text transcribing service can help you do just that.
We provide accurate transcriptions of your videos along with visual content that will help you attract new viewers and keep them engaged. Plus, our data analytics and ad campaign tools can help you monetize your content and maximize your revenue.
Let's partner up and take your video content to the next level!
Contact us today to learn more.